Public Access
eduPERT KB is completey open - anyone can can access it in "read only" mode, without the need to register or log in
Contributing to the Knowledgebase
To add or edit contentto the Knowledgebase you need to log with an eduGAIN-compatible Single Sign On system - the vast majority of R&E user accounts are already eduGAIN compatible, but it ius also possible to use eduGAIN via some social media accounts, such as Google G+.
- Log in using the button in the top right hand corner - this will take you to the eduGAIN 'where are you from' page. Select your home institute or appropriate Social Media (e.g. G+)
- Your login profile is accessible via the button in the top right hand corner - you can edit at any time
- Choose
Here we describe the procedure - How to contribute to the GEANT Knowledge Data Base
A.) The eduPERT KDB is read only if you have NOT authN/Z through LogIn.
B.) New Contribution to the KDB
- Successful LogIn by eduGAIN or Social Media (G+ or Facebook)
- Please complete your profile - minimum: Full Name, e-mail
- Chose your category (e.g Network, EndHost, Performance and Measurement Tools, General Knowledge, and Case Studies) you like to contribute or looking for topics by on the "Welcome Page" or look for a specific topic or page using the "search field" about existing content.
Adding a New
...
- Chose your topic area trough categories
- In the Page Tree or by search field you will find the parent topic (e.g. Network), click e.g. Network and then "Create" (new page), on top of this page you find the "Location" of your new page
- Set the title of your new page
- Go to the icon "Location" and define the dependencies "Parent page - Child page(your new page)"
- New Space is everytime "eduPERT KB".
- New Parent space is chosen category, but you can start typing a page title to see a list of suggestions (e.g. Network).
- Click Move
- On your new page - please make your contributions. Features available for contributions see menu list on top.
- If you have finished your contribution you are able to have a "Preview".
- If you like to finalise the contribution, please press "Update".
- You will find the new content under chosen parent page (category) in the page tree or you can search for your new content in the "search field".
Page
- The page tree on the left hand side shows the topic hierarchy. Navigate or search to find the right parent topic (page), and select that page.
- Below the tool bar on the parent page you will see that page's path (i.e. its location in hte database hierarchy). To create a new page click the "Create" button ......

- ... and in the pop up that appears select (for example) 'blank page'.
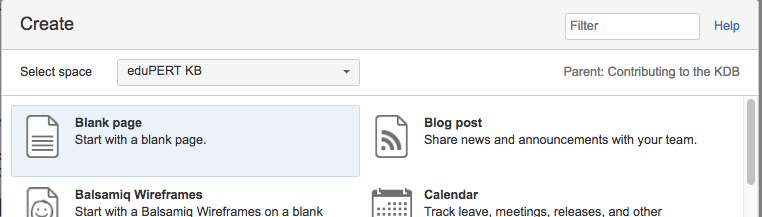
- ... and in the pop up that appears select (for example) 'blank page'.
- Enter the title of your new page (in the example - eduPERT final Home).
- Edit your new page - all available features to help with this are on the tool bar at the top of the page.
- At any point you can "Preview" your page using the button in the bottom right hand corner.
- When the page is complete (or you want to take a break from editing), select "Update" in the bottom right hand corner.
- The page status (next to the page title) will change from 'Published' (with a little green circle) to 'Editing' (with a yellow circle)- the page will be visible to you, it will not be publicly visible or accessible until it has been approved by a moderator.
- When the page is ready to be published
- Click on the 'Editing' link (next to the yellow circle) - this will open a pop up box
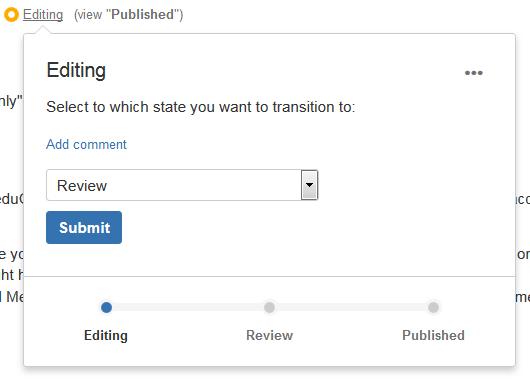
- Select 'Review', and Submit
The page will then go through a moderation/review process (see 'Workflow' below), at the end of which it will be 'Published' and visible to all
Revise or Update existing Content
- Either browse (using page tree on left hand side) or search (using search box at top of page) to find the page you wish to edit.
- Click the "Edit" button (located towards the on top of your right hand side) and make appropriate changes.
- At any point you can preview your changes using the "Preview" button (button right hand side).
- When you have finished your changes
- Select or de-select the 'Notify Watchers' check box. For example, if the changes are of a minor cosmetic nature (typo fixing) it is appropriate to de-select the option.
- Click the "Update" button (bottom right hand corner)
- The page status (next to the page title) will change from 'Published' (with a little green circle) to 'Editing' (with a yellow circle)- the page will be visible to you, it will not be publicly visible or accessible until it has been approved by a moderator.
- When the page is ready to be published
- Click on the 'Editing' link (next to the yellow circle) - this will open a pop up box
- (Optional but desirable) Click 'Add comment' link and add a brief description of the change.
- Select 'Review', and Submit
The page will then go through a moderation/review process (see 'Workflow' below), at the end of which it will be 'Published' and visible to all
Adding a Comment
As well as editing pages, it is possible to add comments, either to a whole page, or to specific text within an page (an "in-line comment"). You need to log in to add a comment, but unlike page editing there is no approval process - comments are immediately visible to everyone.
Page Comments
- Add page comments in the comment text box that is at the bottom of each page.
In-Line Comments
- Select (using mouse/cursor) the text you wish to comment on.
- A speech-bubble icon will appear at the top of the selected text - click on that and add your comment
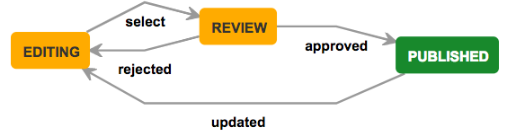
Workflow: Page Status - From Contributions to Published Documents:
Contribution (page addition and editing) is only possible after logging in using eduGAIN, which itself requires valid federated account (note, some social media accounts are eduGAIN compliant, including Google G+)
Page States
- Newly created page has status DRAFT.
Details about Page Status and visibility see E.)
C.) Review/Revise existing Content
- Chose your topic through categories
- On the category (e.g. Network) chose in the "PAGE TREE" the existing topic
- Click on the topic and review/revise the page
- If you have finished your review/revise you are able to have a "Preview".
- If you like to finalise your review/revise, please press "Update".
- You will find the review/revise under chosen parent page in the page tree or you can search for your review/revise in the "search field".
Details about Page Status and visibility see E.)
D.) Existing or new Comment
- Chose your topic trough categories or through the "search field" on top.
- At each page on the bottom you have a comment field
- Fill in there your text
- You have a preview available
- If you like to finalise your comments please save
- The comments are directly visible - can be edited, and deleted
- Fill in there your text
Details about Comment Status and visibility see E.)
Here we describe the Page Status:
E.) Workflow Contributions / Review:
Under eduGAIN, social media (G+ and Facebook) credentials:
...
- Page Status Editing: Create (single “empty” page) a new page under chosen parent topic.
- Page Status Editing: Contribution activated (Update). This contribution is not visible
...
- publicly. (This is also the status of an existing page which someone starts editing)
- Page Status Change - from Editing to Review: Contributor changes the status “Editing” to “Review” with Comment
...
- (Check status with “View Workflow” or show “Activity Report”):
- Page Status Review: A mail
...
- is sent to the SMEs
...
- , to the eduPERT
...
- asking for Reviewing. One SME from the eduPERT team will Review the contribution
...
- Page Status Published: Contribution approved, the contribution is now visible for the whole world
...
- :
- A mail
...
- is sent to the contributor, noted with the approve.
- Page Status Editing (after Review): Contribution rejected
...
- :
- A mail
...
- is sent to the contributor, noted with
...
- rejecting the contribution with Page Status “Editing".
- Contributor can revise/report contribution and ask again for
...
- Review =>
...
- Change page status to Review.
- One SME will Review again the contribution – will approve or reject the contribution with
...
- comments.
...
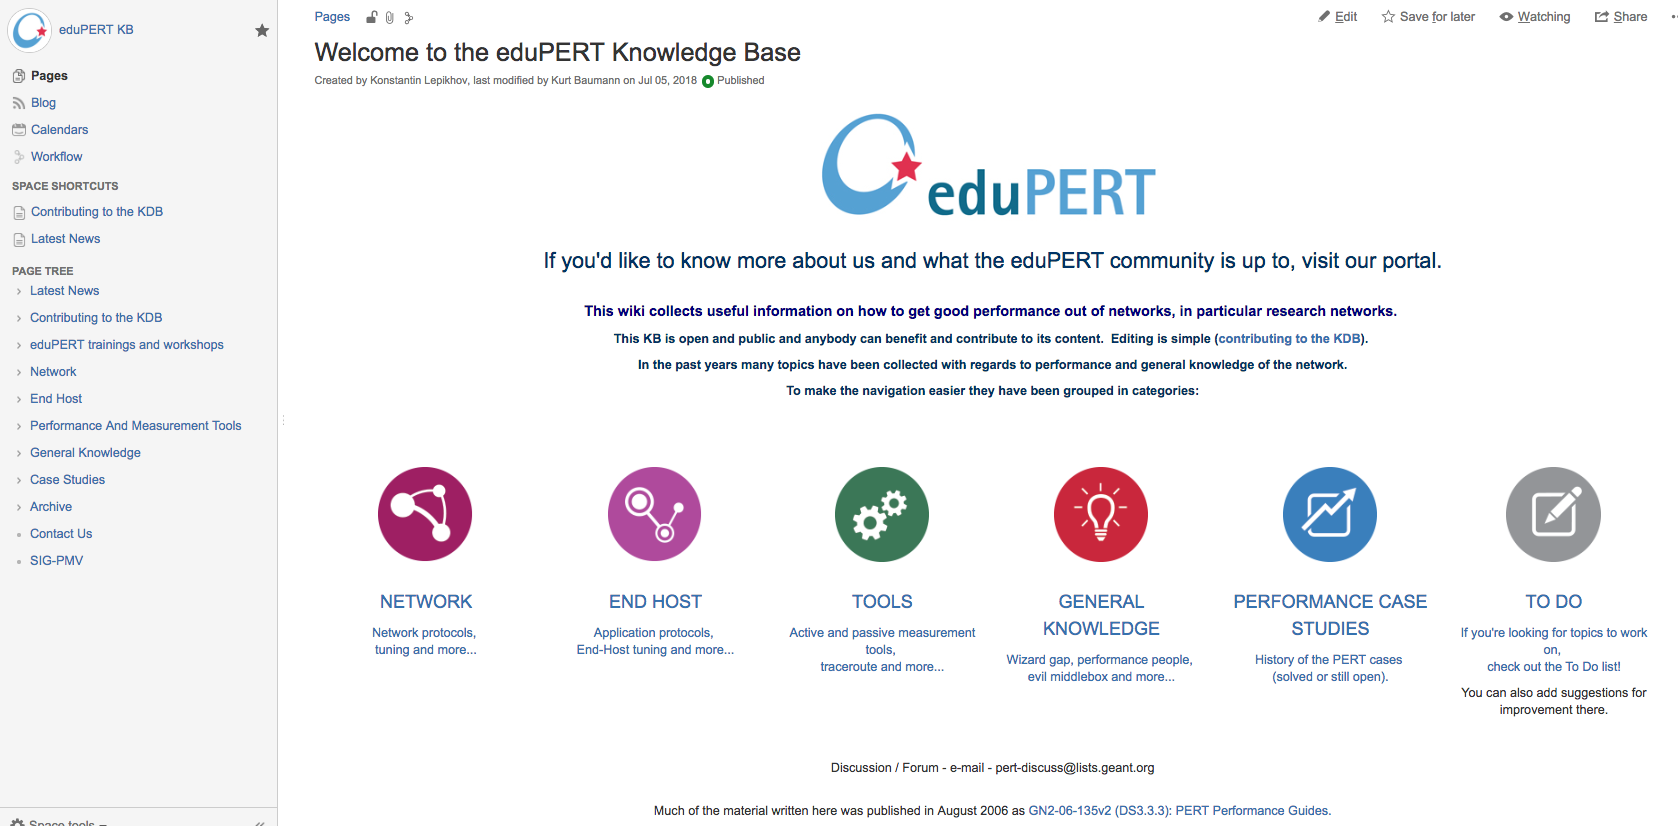
Finding and tracking new Content
If you want to find the most recently created and updated pages, select "Pages" on the left hand sidebar and you will see a list of the most recently modified pages.
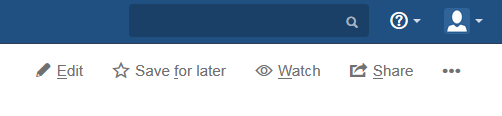
If you are interested in a particular topic and want to be be notified when that page changes, click the 'Watch' button on the top right hand side of the page
If you want to request a topic to be researched and added, or want to see what others have asked to be worked on, go to the TODO page
- Clicking on the "Comment" the Page is changing automatically to the status “Editing”.
- The Contributor has to ask for “Reviewing”.
- A mail will be sent to the SMEs (eudPERT team).
- The reviewer will check comments and will approve, reject comments
- If the comments are approved they will be published immediately (visible for everybody) => Page Status “Published”
- If the comments will be rejected the Page Status went back to “Editing”
- A mail will be sent to the contributor to add, delete or correct the contribution
- After add addition content, correction the contributor has to change the Page Status from “Editing” to “Review”
- A mail will be sent to the SMEs (eduPERT team)
- After Reviewing the comments the approve the comment will be visible by the public.
E.) History - On "Pages" you have your history visibly.
- Go to "Pages"
- You find "Recently Updates" and the "TREE Browser"
F.) Looking for contribution ideas
- Go to TODO under Contributing to the KDB
<...is work in progress... > ....the Workflow PlugIns effect has to be described here too.
...