| Info |
|---|
This guide describes how to connect a "miniOrange" (https://wordpress.org/plugins/miniorange-openid-connect-client/) protected Wordpress site as an OIDC Relying Party to eduTEAMS You will need to have access to your Wordpress site's administrator account, and be comfortable changing your site's configuration. You may wish to make a backup before continuing. This guide is based on the free version of the MiniOrange plugin. |
This guide describes how to connect a "miniOrange" ( https://wordpress.org/plugins/miniorange-saml-20-single-sign-on/#description ) protected Wordpress site as a SAML Service Provider to eduTEAMS.
You will need to have access to your Wordpress site's administrator account, and be comfortable changing your site's configuration. You may wish to make a backup before continuing.
This guide is based on the free (and most basic) version of the MiniOrange SAML plugin. The functionality is standard compliant, but at the most basic level. Other paid for versions are available. We, the people behind eduTEAMS cannot endorse purchasing alternative versions of the MiniOrange SAML plugin.
You might wish ti consider using OIDC for connectivity.
Step 1 install the plugin & configure
It is assumed you have already created an OIDC application for your account on the eduTEAMS service, and you have the details of this available
Either download the zip file for the plugin and unzip in to your wp-content/plugins directory (fixing permissions as you go) or install from your Wordpress instance's web interface ; the approach you choose will depend on the type of installation you have and therefore we cannot provide more detail here.
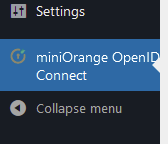
Once installed, find the configuration link in the settings menu
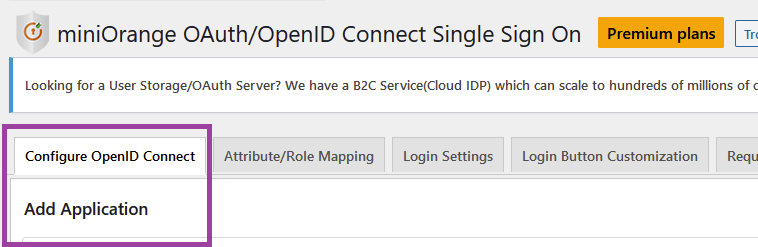
Next:
Then :

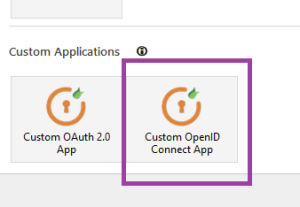
- and you will be asked to name your OpenID application.
Once you have done this you can enter the rest of You can now enter the details of your application:

Settings-> miniOrange OpenID Connect Client -> Configure OpenID Connect Client, and follow the instructionsAppearance->Widgets ,in available widgets you will find miniOrange OpenID Connect Client widget, drag it to chosen widget area where you want it to appear.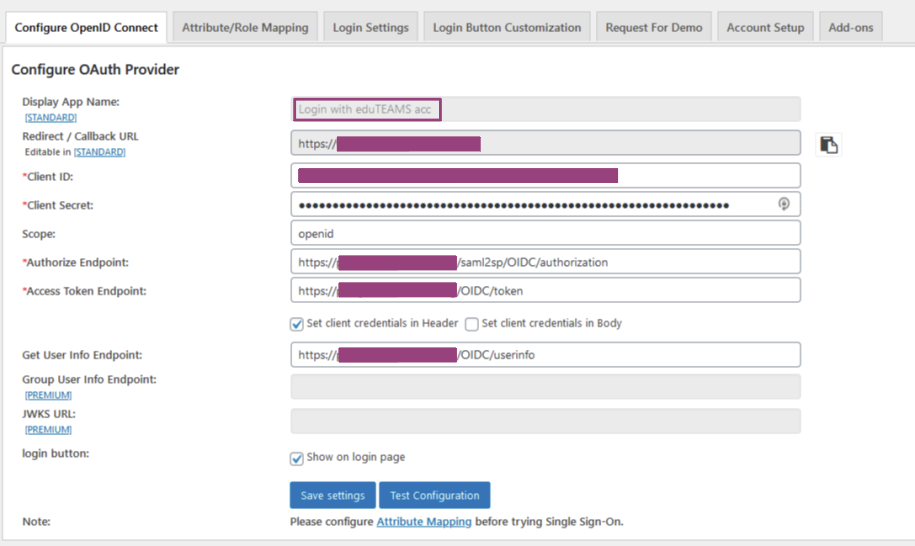
The Client ID and Client Secret come from the SP registration you completed.
Scope should be openid
The Endpoints will be URLs as available from the .well-known information relevant to the eduTEAMS VO you're connecting to, eg https://proxy.eduteams.org/.well-known/openid-configuration
Now visit your site and you will see login with widget.