About
Jira is a proprietary issue tracking product that allows bug tracking and agile project management. JIRA is used for Project Management, Bug Tracking, Issue Tracking and Workflow. JIRA is based on the following three concepts – Project, Issue and Workflow.
How to access
Use browser to login to JIRA: jira.software.geant.org. You will see:

You need to click Geant Federated Auth or wait 3 seconds.
You will be redirected to GÉANT login page:
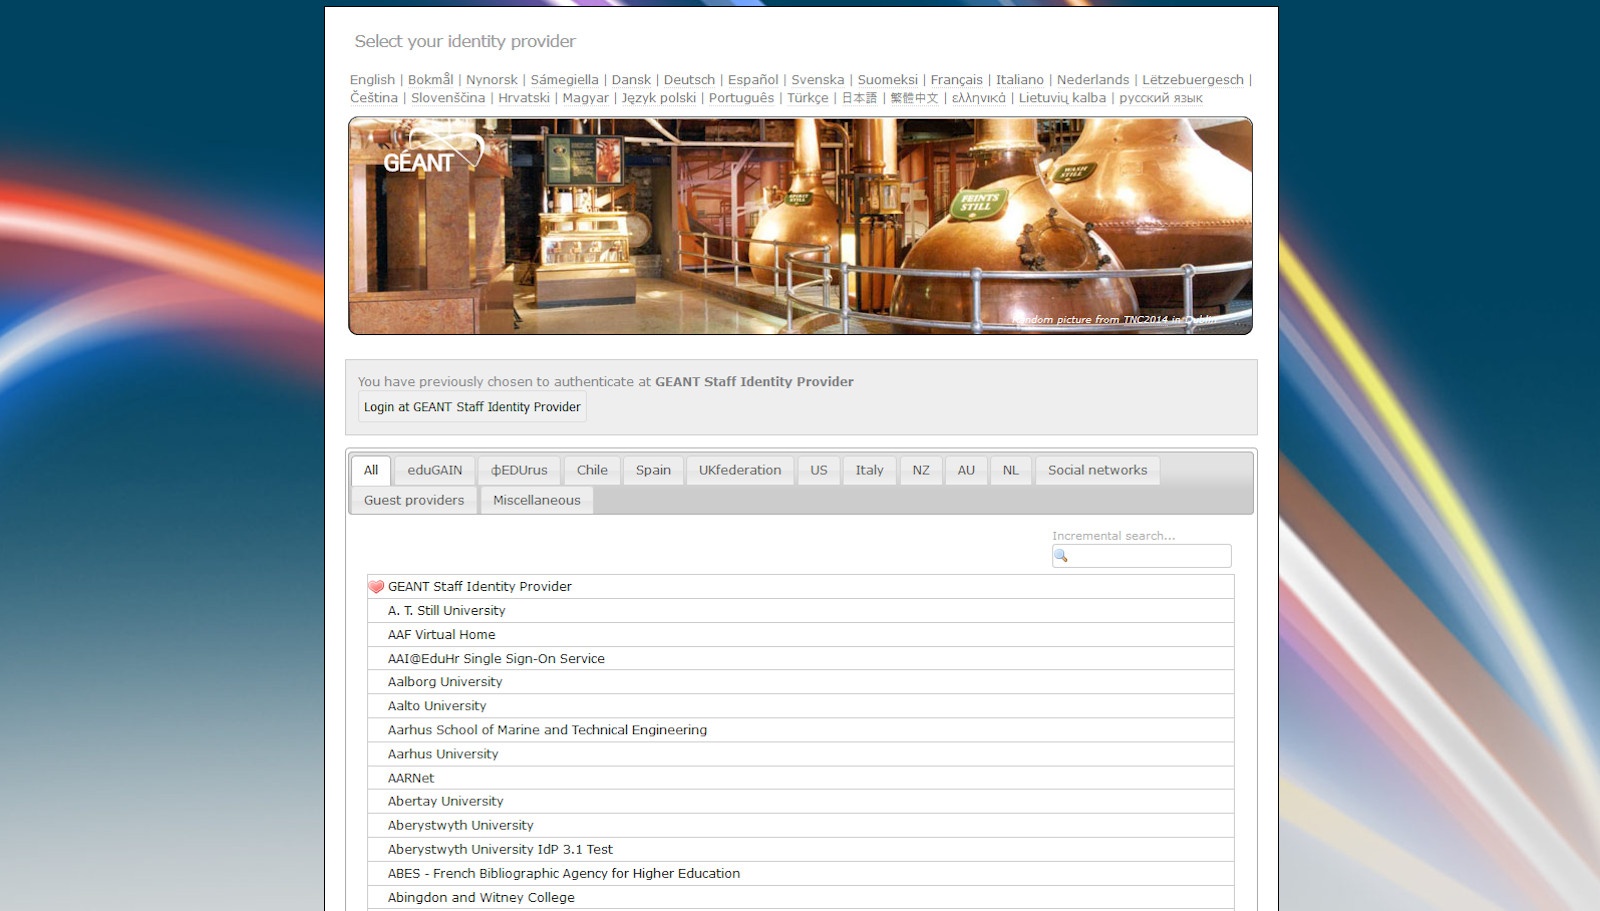
Please choose your identity provider.
After login at your home organization you will be redirected back to jira.
Important
This tutorial refers to the JIRA instance with Federated Authentication. To access the old version, based on the Crowd user database, use the following URL: https://issues.geant.net
Short guides
How to request for a new JIRA project
This page contain information about JIRA projects useful during new project creation
Step-by-step guide
- Select project name and key
Each project has a unique name (e.g. JIRA Junior) and a unique key (e.g. JJ). The project key becomes the first part of that project's issue keys, e.g. JJ-1, JJ-2, etc. - Select one of project types (listed below) which are related to your requirements. More deep description is available on: JIRA applications and project types overview
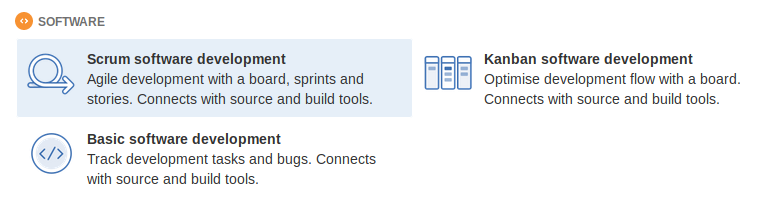
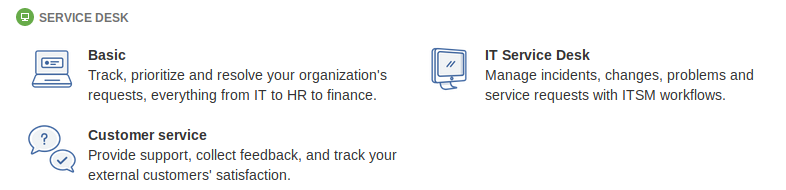
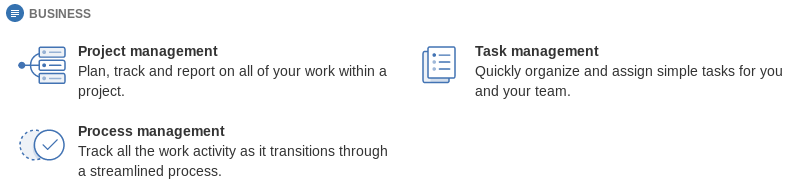
Project type is related to issue types and schemes which are pre-configured. It could be changed in future, but it is easier to start from type related to your methodology or procedures. - Raise issue in SWDSD project -> https://jira.software.geant.org/secure/CreateIssue.jspa?pid=10500
with all related information: name, key, type and users/developers if you need help with permission assignment.
How to link JIRA projects to space in Confluence
Step-by-step guide:
- Go to your project in Jira and open Project settings.
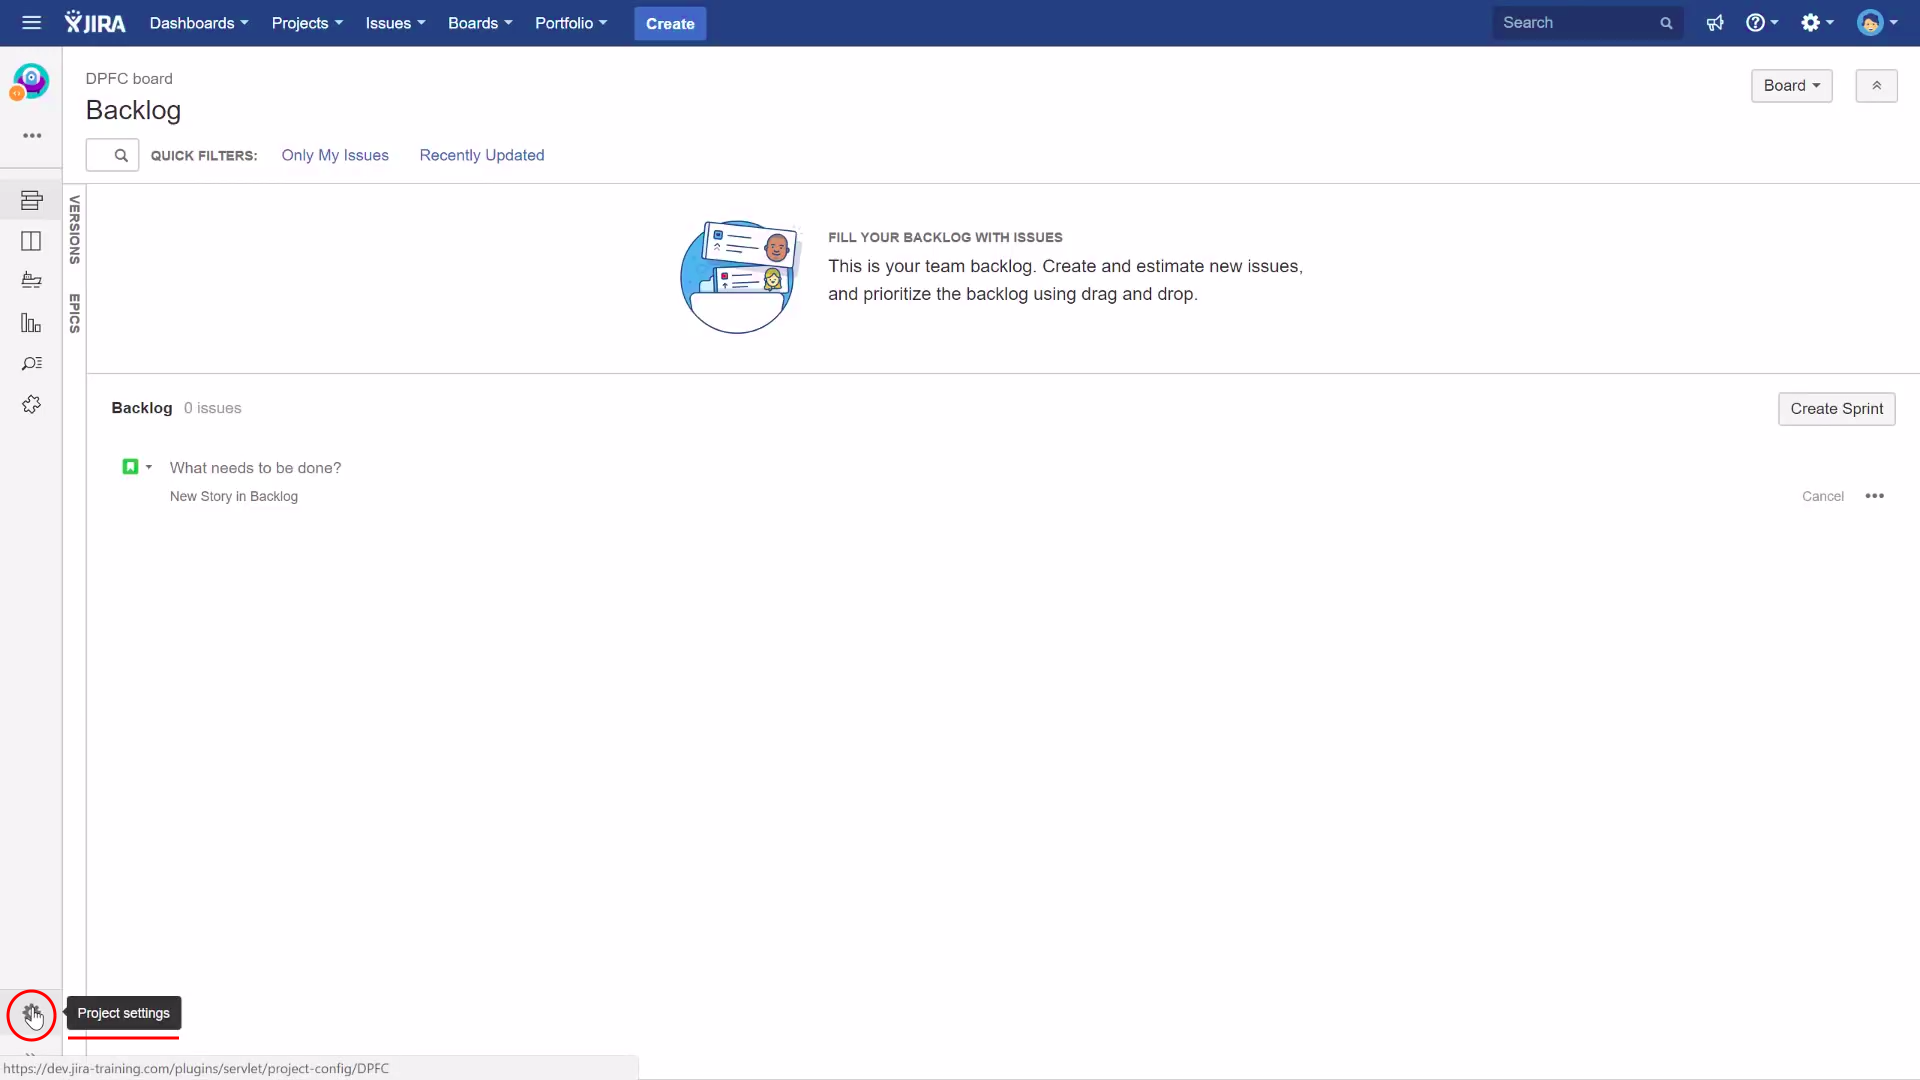
- In Project settings select "Summary" section.
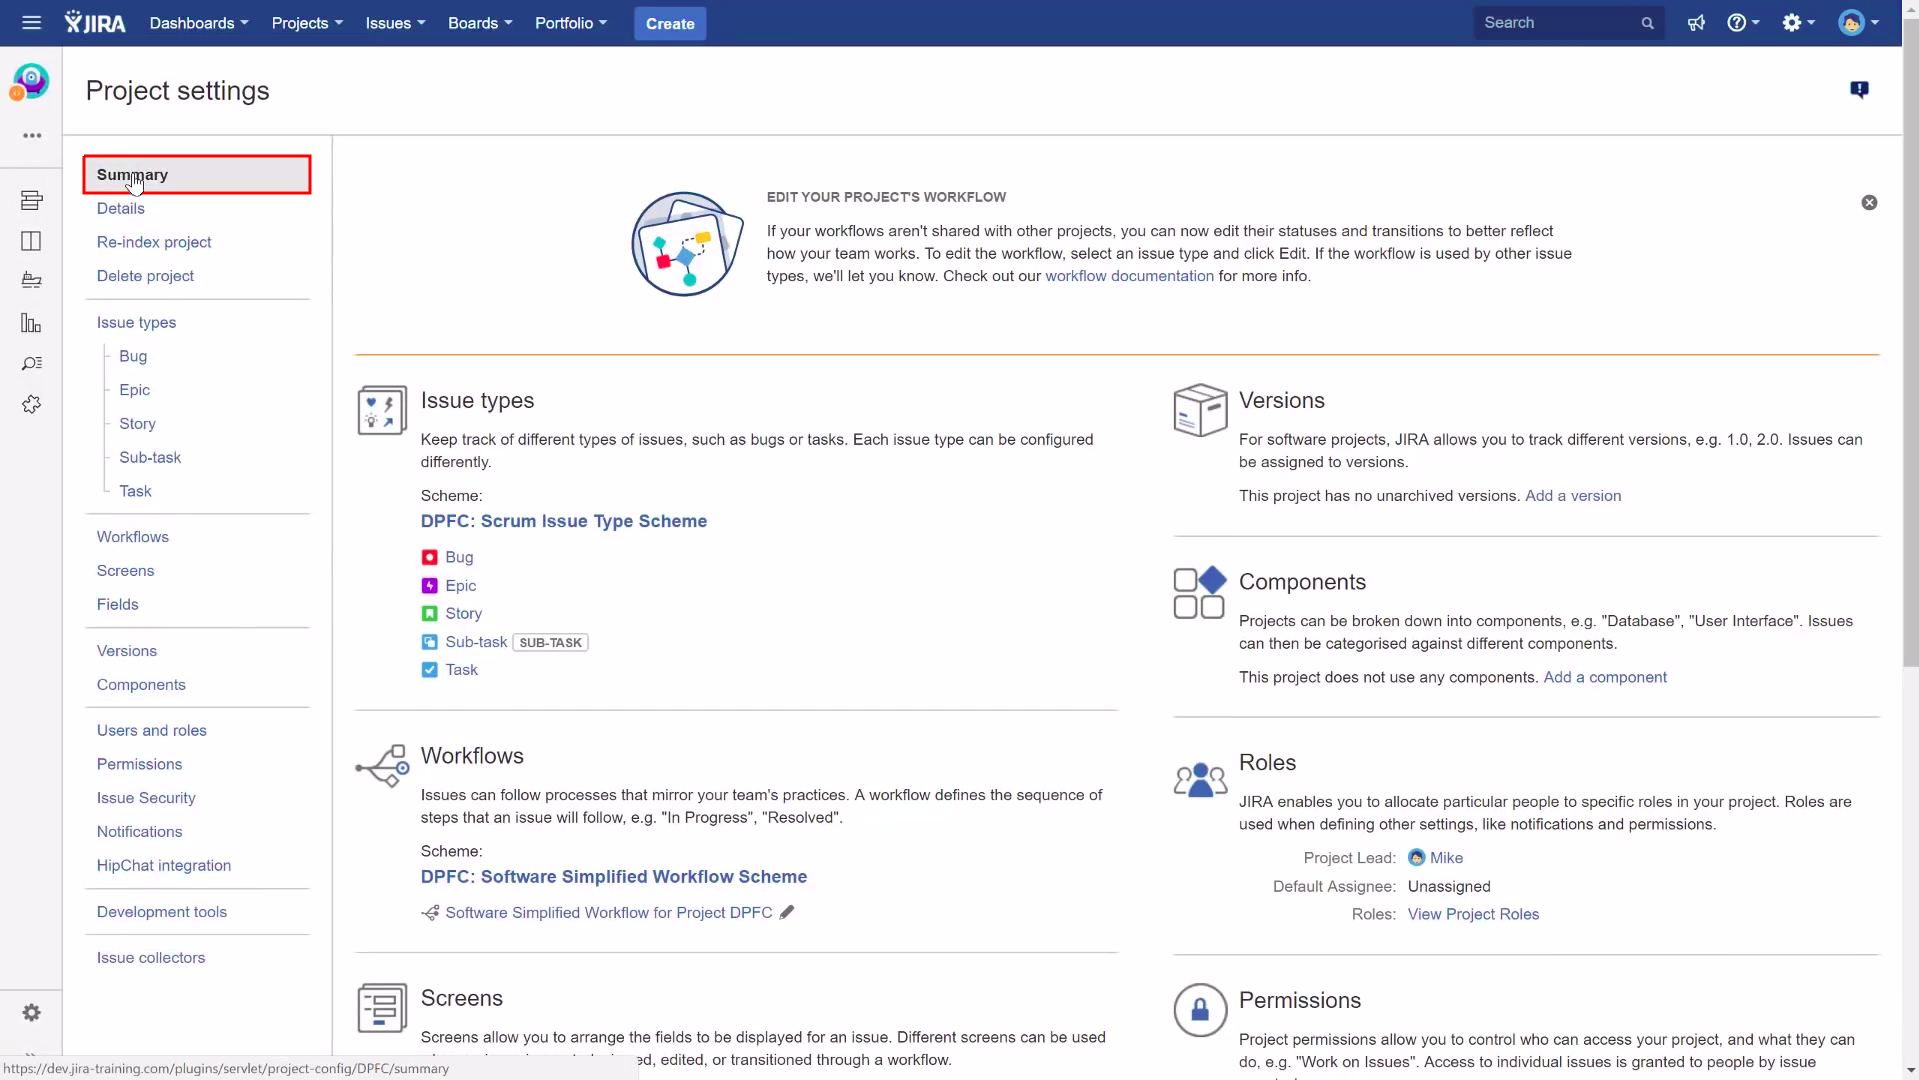
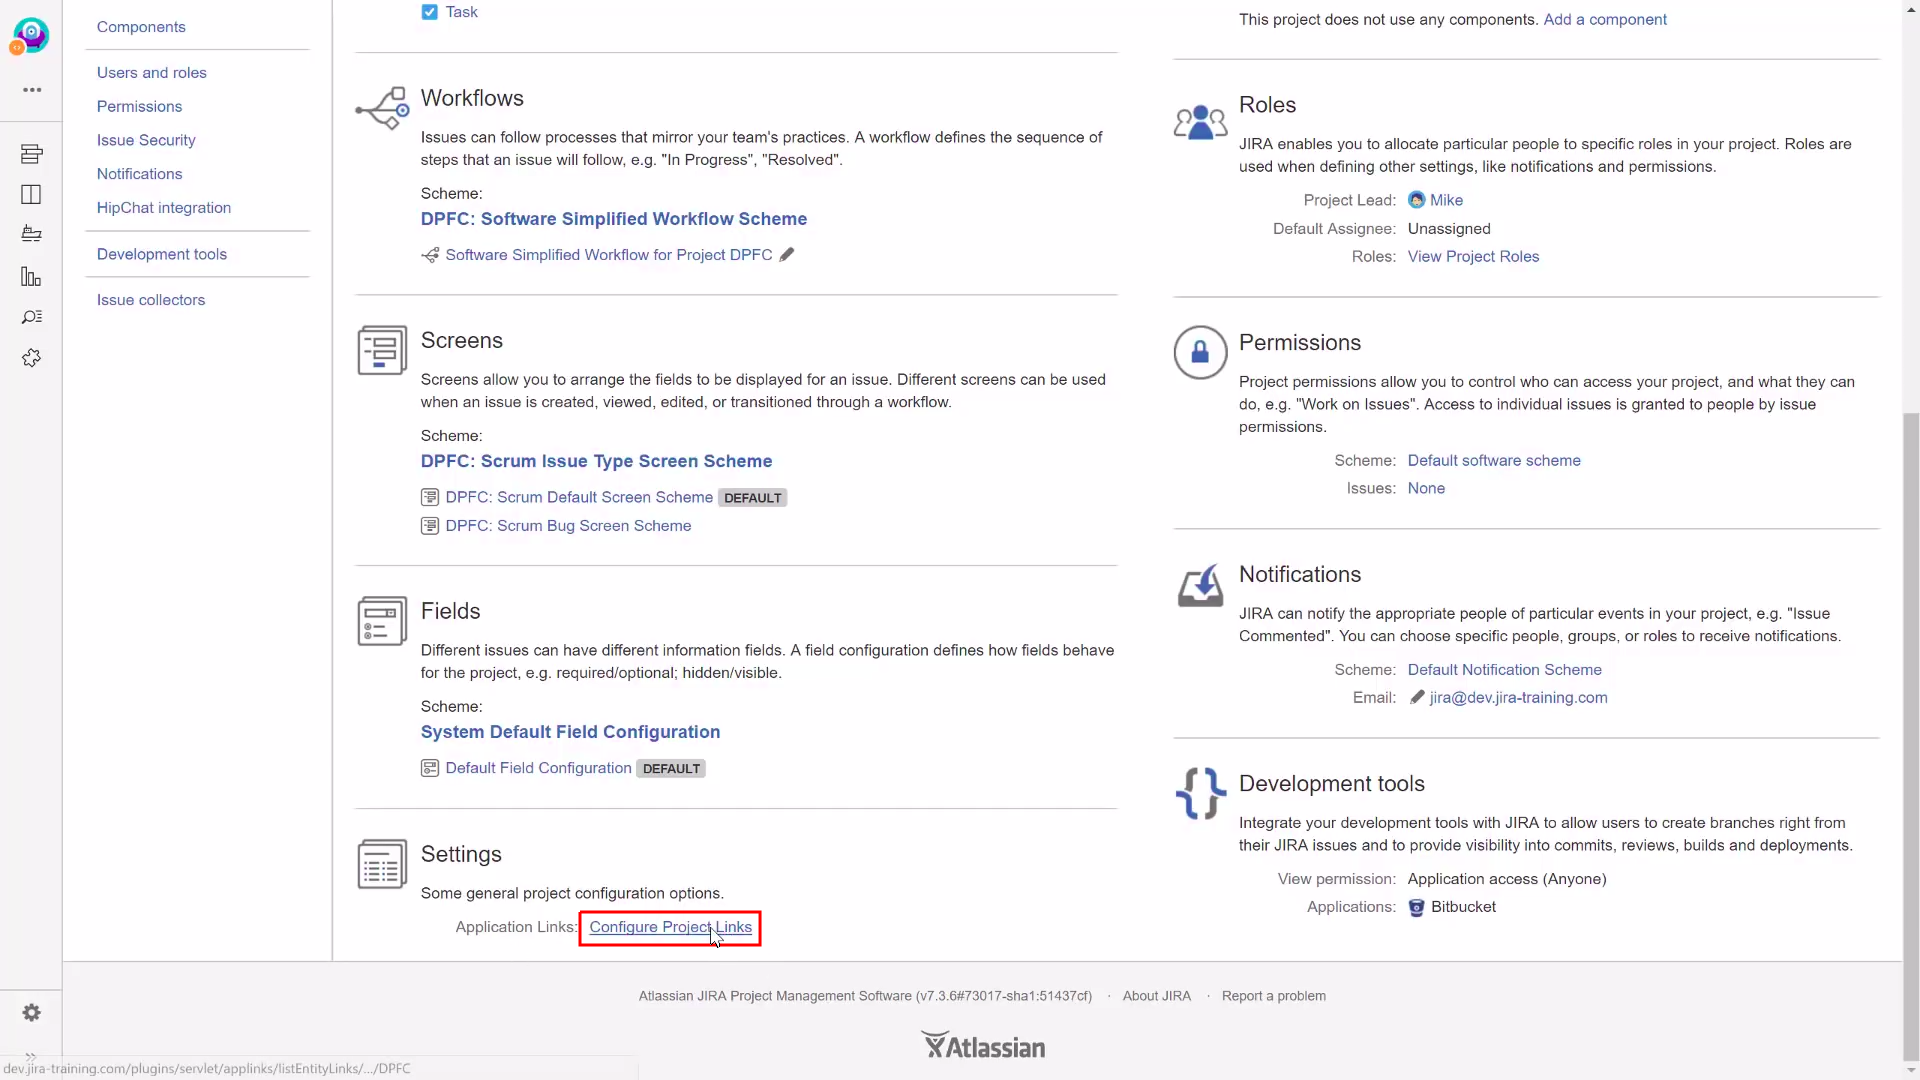
- Find Settings > Application Links and open "Configure Project Links".
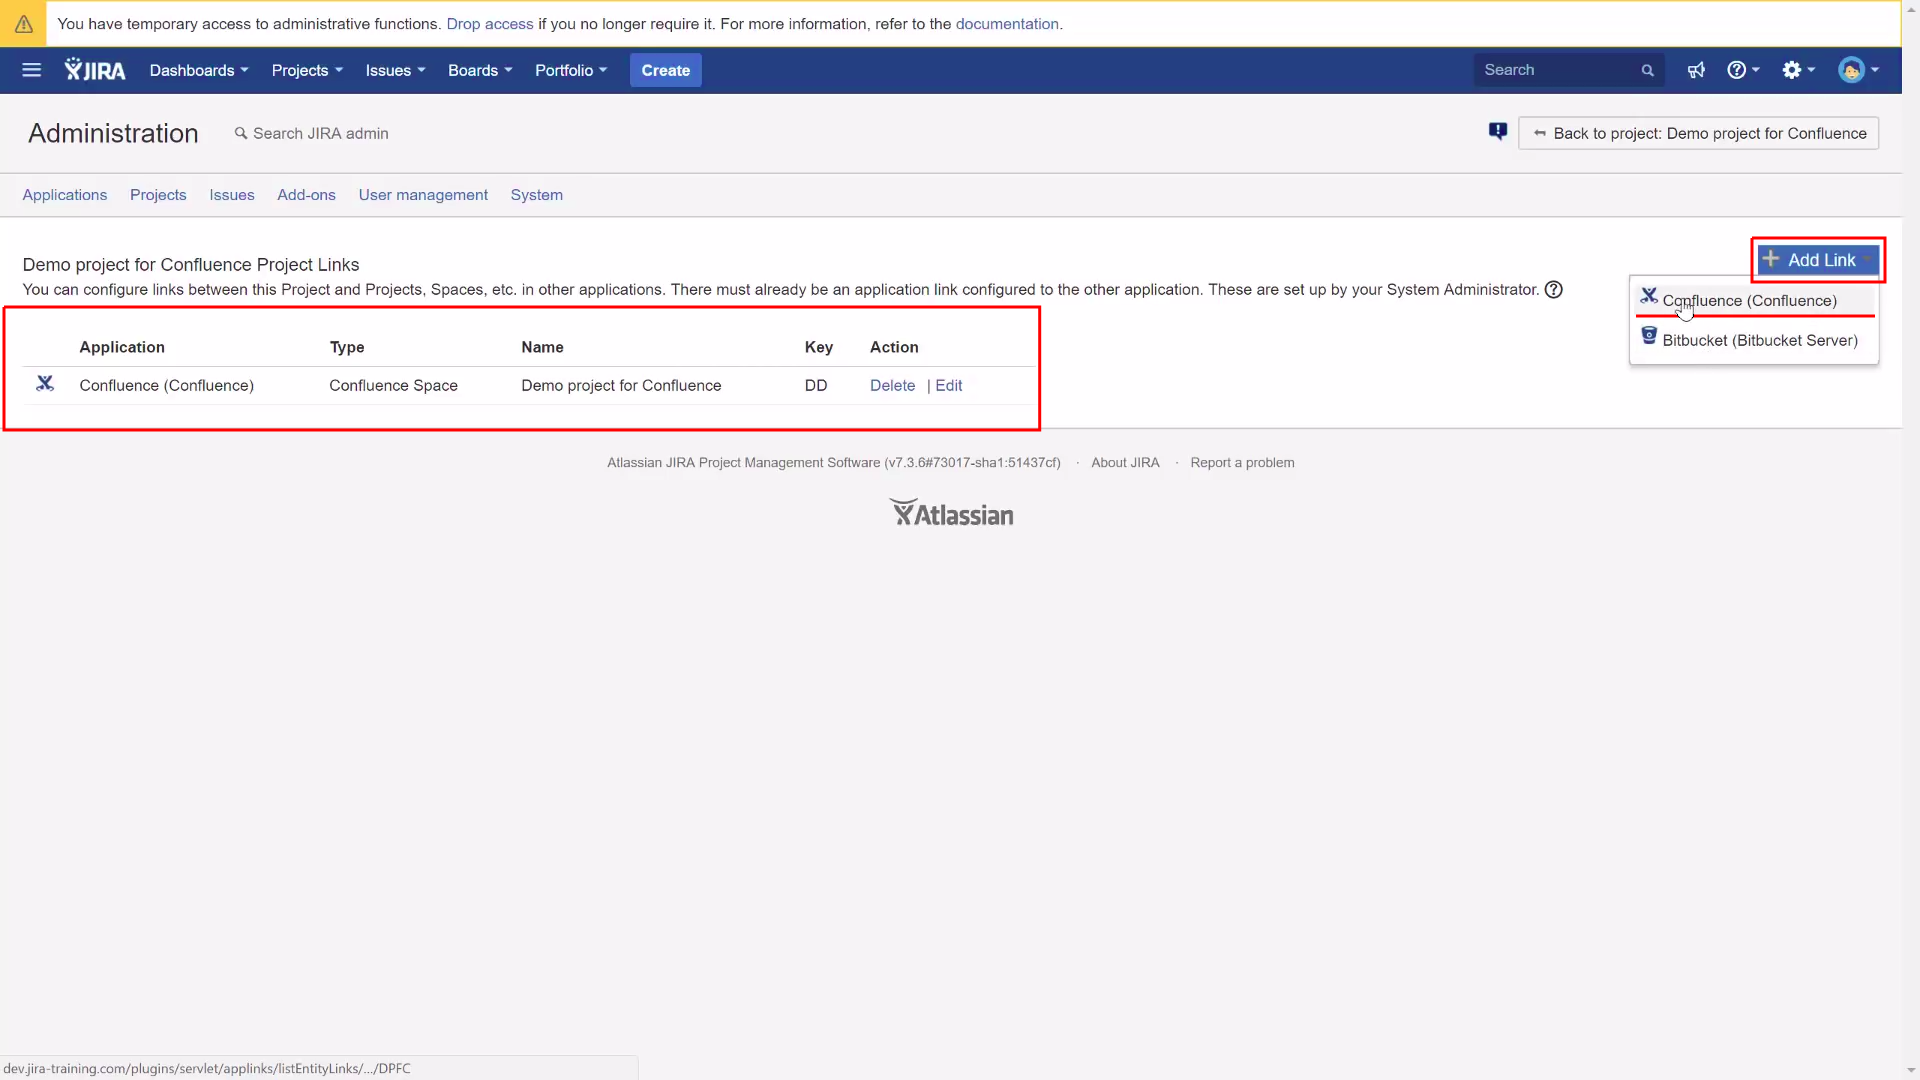
- In the middle we have list of actual spaces linked to our project in Jira. To add another one, open Add link > Confluence.
Linking from command line:
Where XXX is a project key or name and YYY is a Confluence space key or name.
--action addSpaceLink --project XXX --name YYY |
|---|
When your instance is like site where every project has a Confluence space with the same key as the Jira project.
|
|---|
Benefits from linking Jira and Confluence:
- Automatic links:
Whenever a Jira issue is mentioned in a Confluence page using the Jira Issue Macro, Jira will create an issue link to that page for you, automatically. Specs to issues, knowledge base articles to support tickets, project outlines to tasks – easily access those pages, straight from Jira.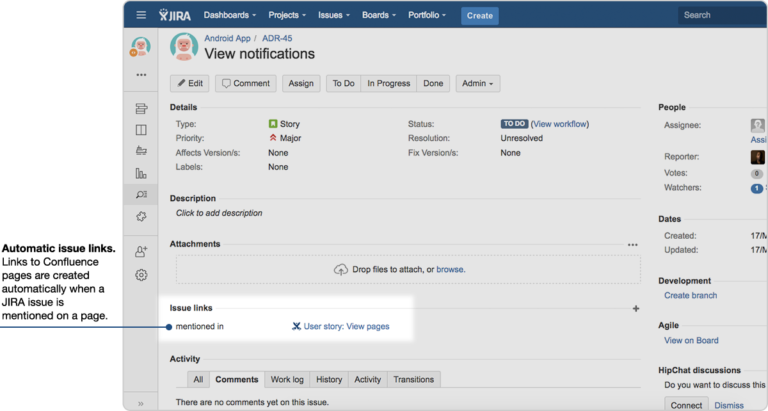
- Ad-hoc links:
You can create links between issues and related pages in Confluence with the Link dialog in Jira. It’s perfect for referencing a knowledge base article that’s related to a bug report, or user stories and requirements for a new feature request. - Embed issues with copy and paste
- Create new issues from scratch
- Display your Jira data with charts
- Maintain traceability within Confluence
- Create issues from instructional text
Troubleshooting
If you have problems logging in, write to the address help@software.geant.org