About
Bitbucket is Git repository with web-based code management system.
Geant Bitbucket instance is available at https://bitbucket.software.geant.org
How to access Bitbucket
- Go to bitbucket.software.geant.org and click Log In link in right top corner

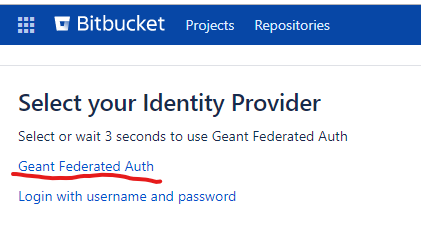
- On the next page "Select your Identity Provider" choose "Geant Federated Auth" option.
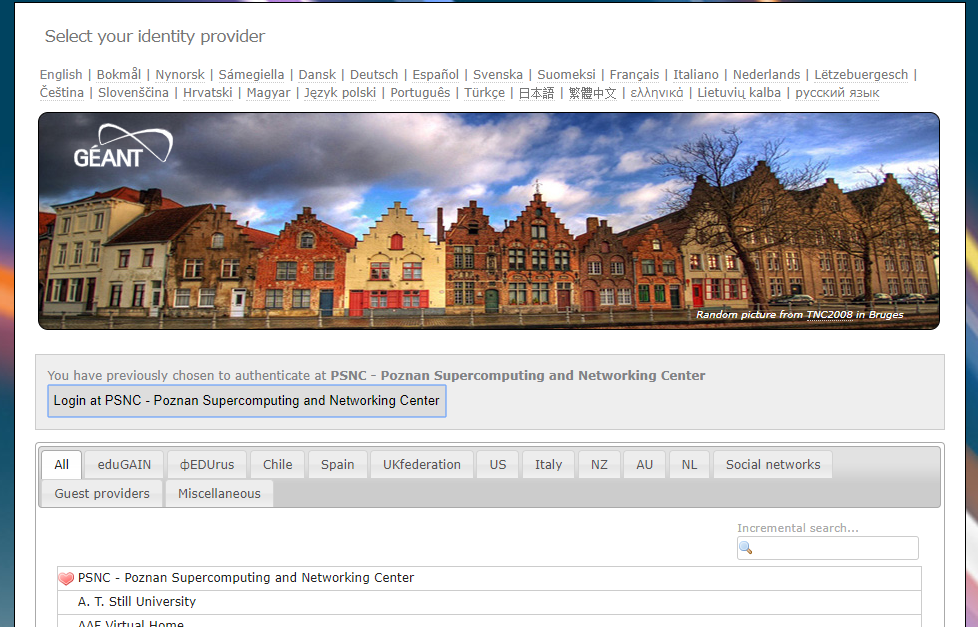
- You will be redirect to login.geant.org where you can choose your Identity Provider and use it to log in.
- After successful login you will be redirect to Bamboo. If you are logging in for the first time, your account in Bitbucket will be created automatically.
How to check your username
- Log in to Bitbucket as described in How to access Bitbucket
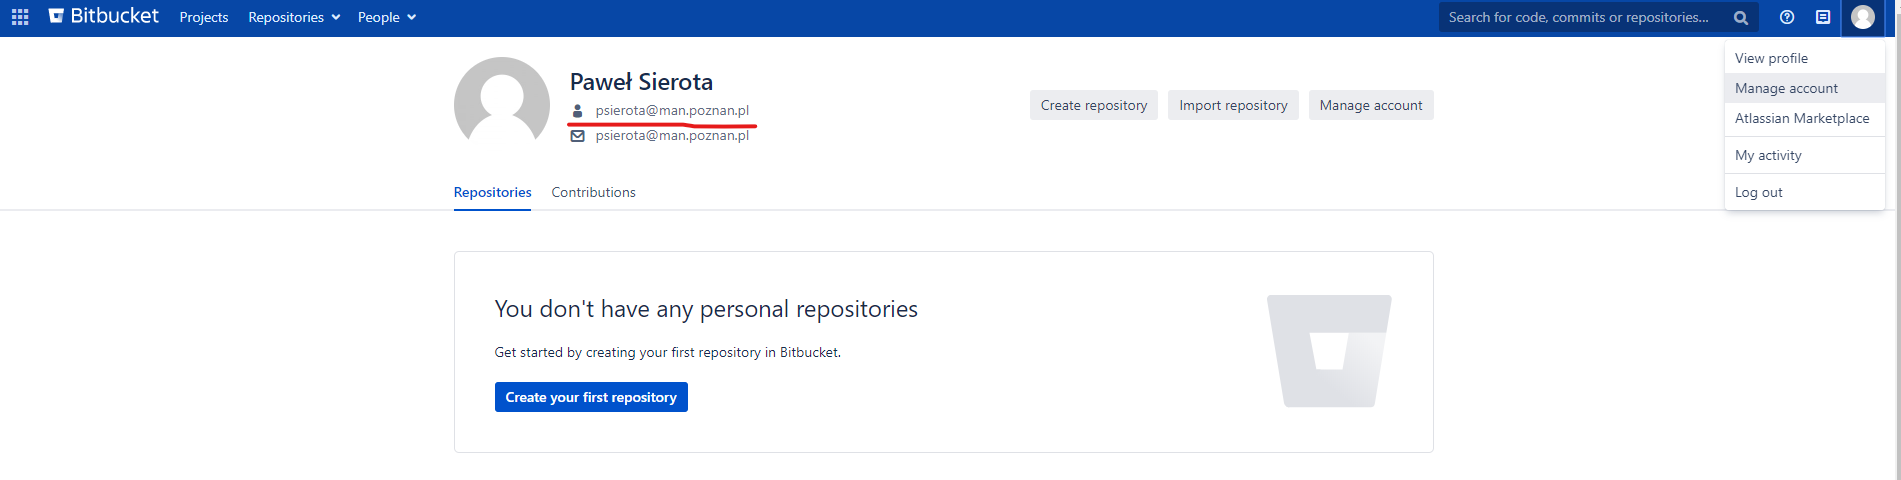
- Click on the icon in top right corner and choose "View profile". Username is highlighted on screenshot below
How to create project
Projects are created only by Bamboo administrators. To request new project, please create ticket in JIRA SWDSD Project or send an email at help@software.geant.org. You must provide following details:
- project name
- project administrator - username of person who will be responsible for repositories and granting permissions for users
How to get access to project/repository in Bamboo
Project administrator is responsible for granting permissioins to particular projects/repositories. You should contact with administrator of your project and ask and provide your username.
How to use Git client
Federated authentication allows you access bitbucket.software.geant.org only via web browser. In order to access repository using git client (like git command line tool) you must provide:
- username - which is your username in Bitbucket
- password - which is your Personal access token
To create your Personal access token:
- Log in to bitbucket.software.geant.org as described in How to access Bitbucket
- Go to "Manage your account" page
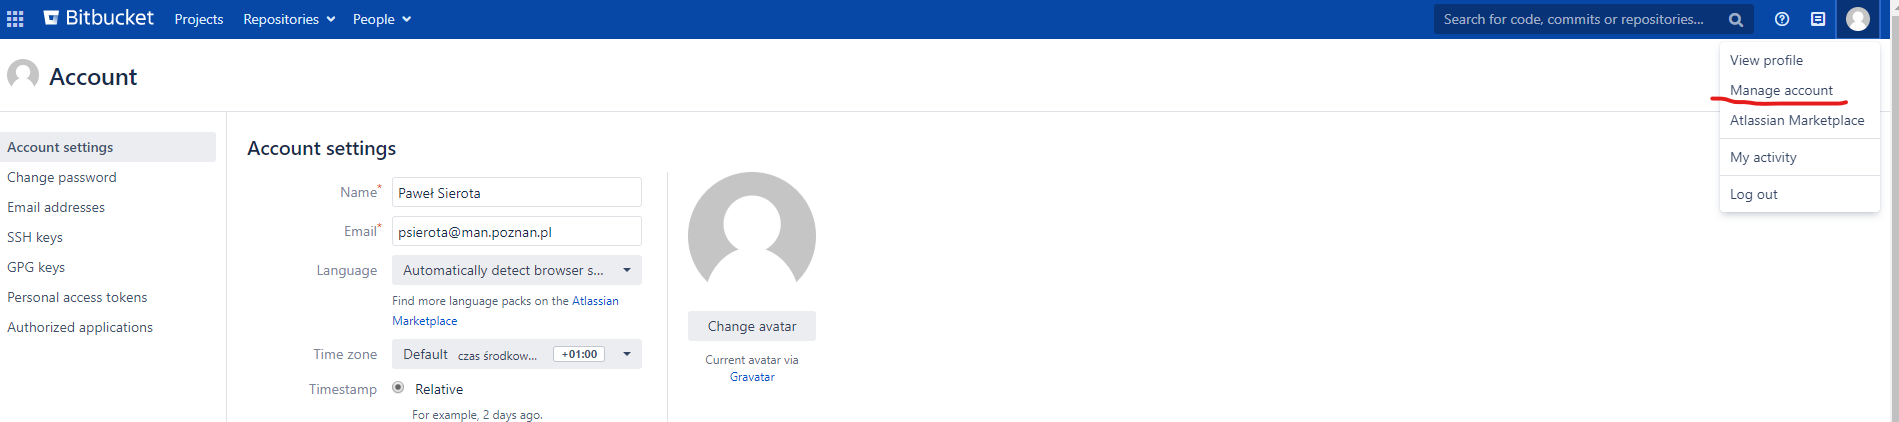
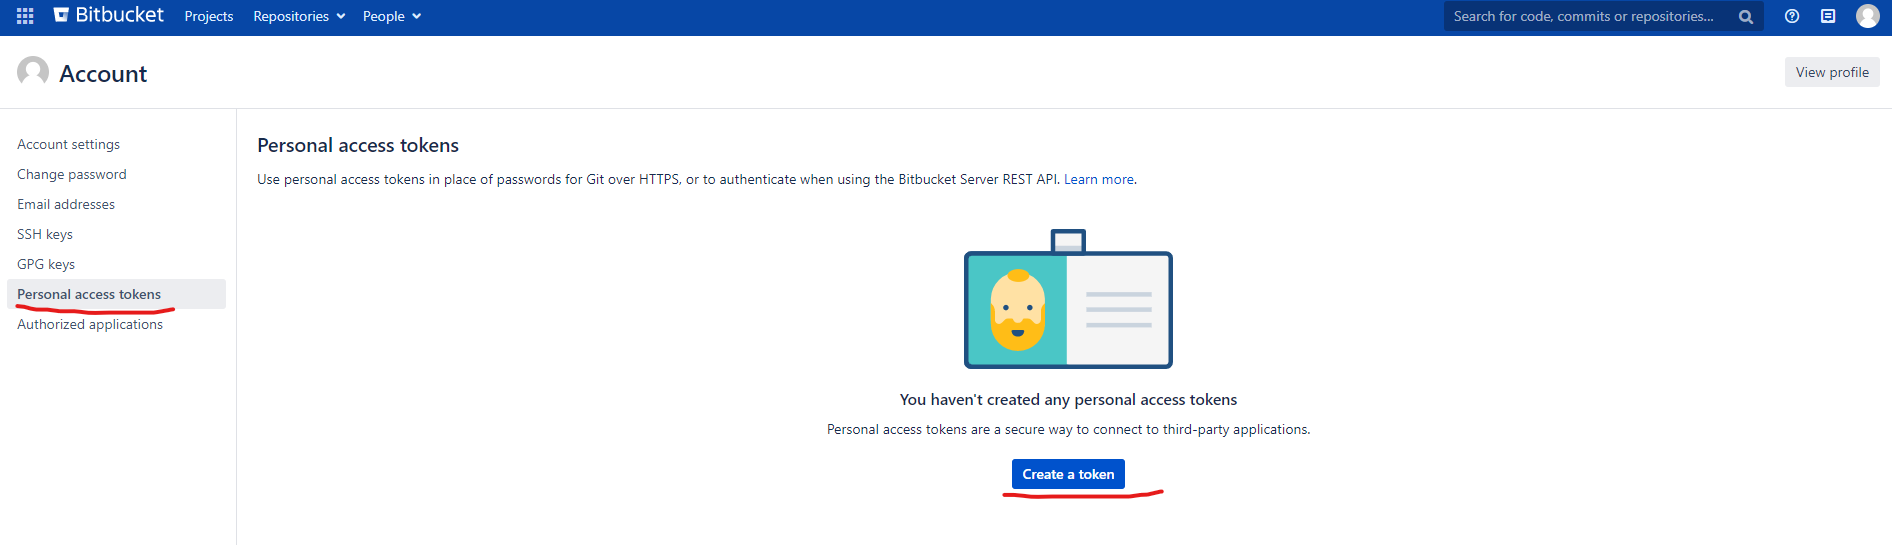
- Next choose "Personal access token" and click "Create a token" button
Please refer to this article for more information about Personal access tokens.